OCULA MEASUREMENT SESSIONS
/
OCULA MEASUREMENT SESSIONS (Frequency Response, Polar Pattern, Matching)
Read More
OCULA MEASUREMENT SESSIONS (Frequency Response, Polar Pattern, Matching)
Read More
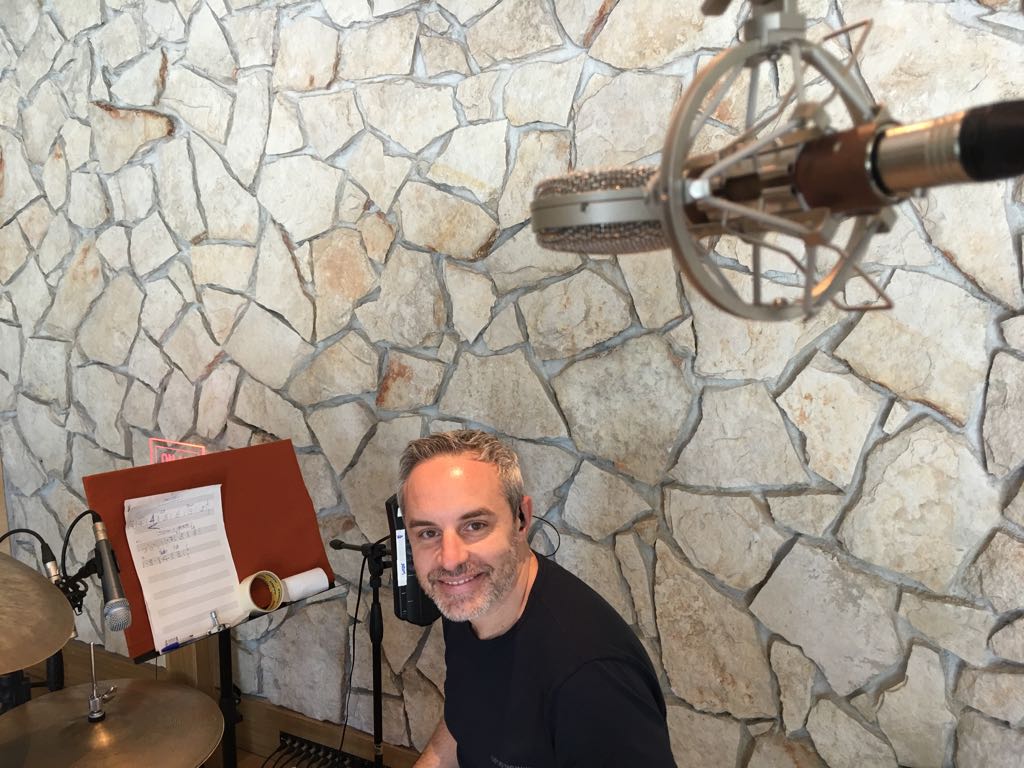
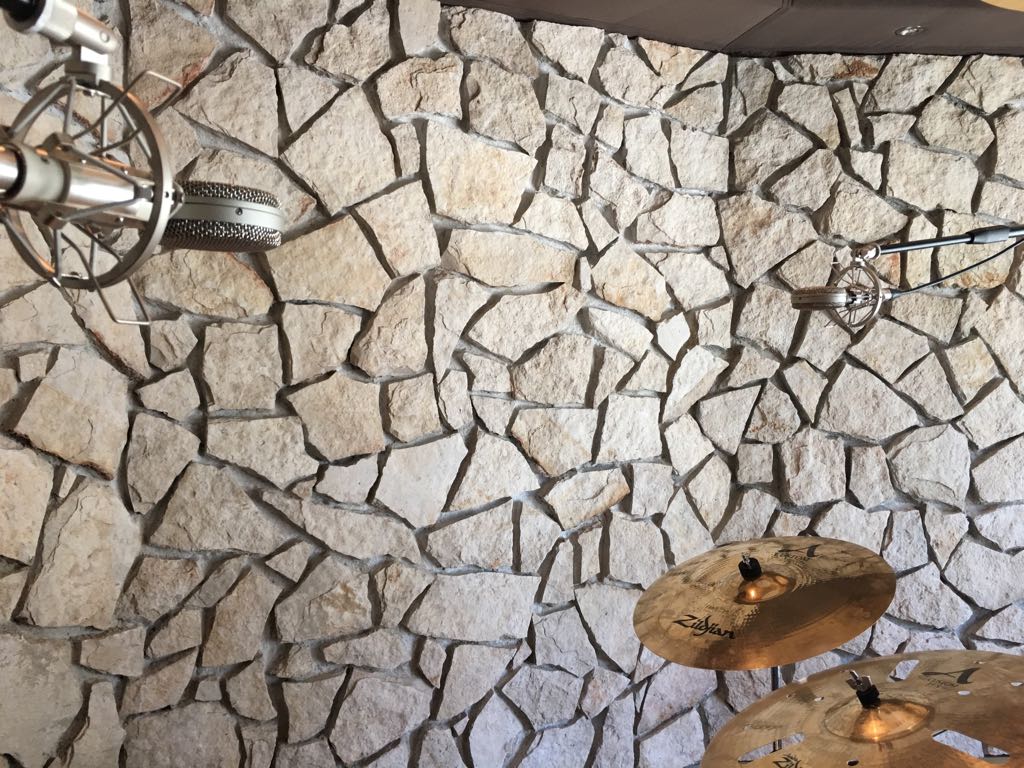
Braingasm “OCULA” diffuse field microphone - audio comparative test with dpa 4009 equipped with a 40mm ape.
When working with microphones, understanding the environment in which you are recording is crucial. Two important concepts in this regard are "free field" and "diffuse field." These terms describe different acoustic environments, and knowing the difference between them can significantly impact the quality and accuracy of your recordings. This article delves into the definitions, characteristics, and applications of free field and diffuse field in microphone techniques, with a special focus on the use of omnidirectional microphones and the role of passive equalization spheres (or APE - acoustic pressure equalizers) in diffuse field recordings.
A free field refers to an environment where sound waves can propagate without encountering any significant obstacles or reflections. In such a setting, the sound travels directly from the source to the microphone without being altered by reflections from walls, ceilings, or other surfaces.

Direct Sound Propagation: In a free field, the sound reaches the microphone directly from the source, making the recording free from echoes and reflections.
Inverse Square Law: The sound pressure level decreases by 6 dB each time the distance from the source is doubled. This is a direct consequence of the inverse square law.
Outdoor or Anechoic Chambers: Typical free field environments include outdoor spaces far from reflective surfaces or specially designed anechoic chambers that absorb reflections.
Studio Recording (Close Miking): A microphone technique which involves placing a microphone very close to a sound source, normally with the intention of maximising the wanted sound and minimising any unwanted sound from other nearby sound sources or the room acoustics. In classic music circles the technique is more often known as 'Accent Miking'.
Acoustic Measurements: Free field conditions are ideal for precise acoustic measurements, such as determining the sound power level of a source or the directivity pattern of a loudspeaker.
Microphone Calibration: When calibrating microphones, a free field ensures that the measured response is due to the direct sound only, providing an accurate baseline for comparison.
A diffuse field, in contrast, is an environment where sound waves arrive at a point from all directions with equal probability. This happens because the sound is reflected multiple times by the surfaces in the room, creating a uniform sound field.
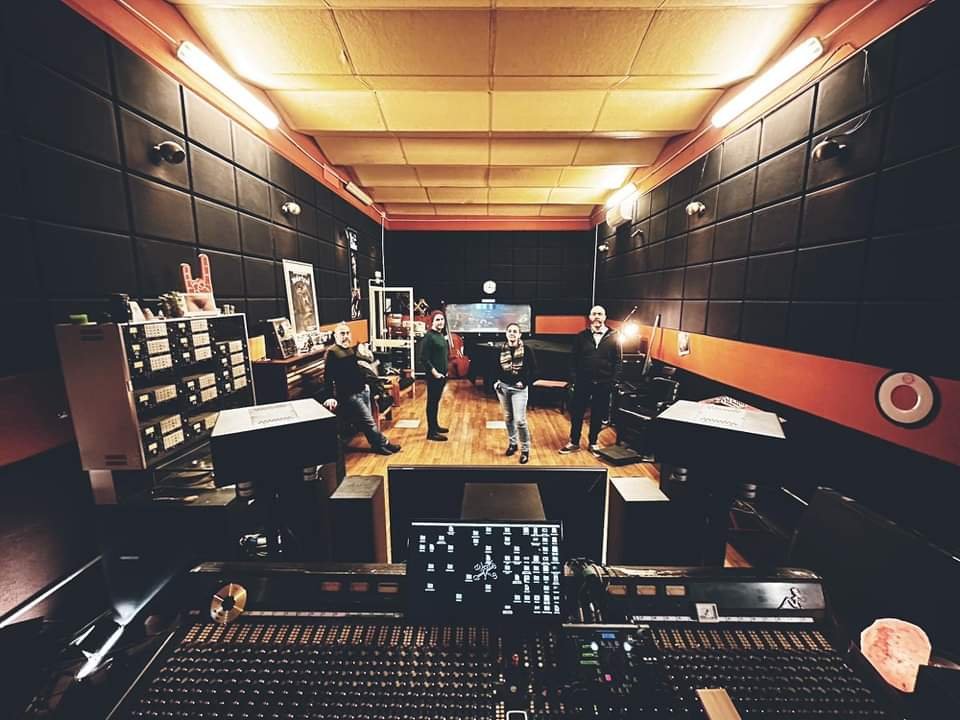
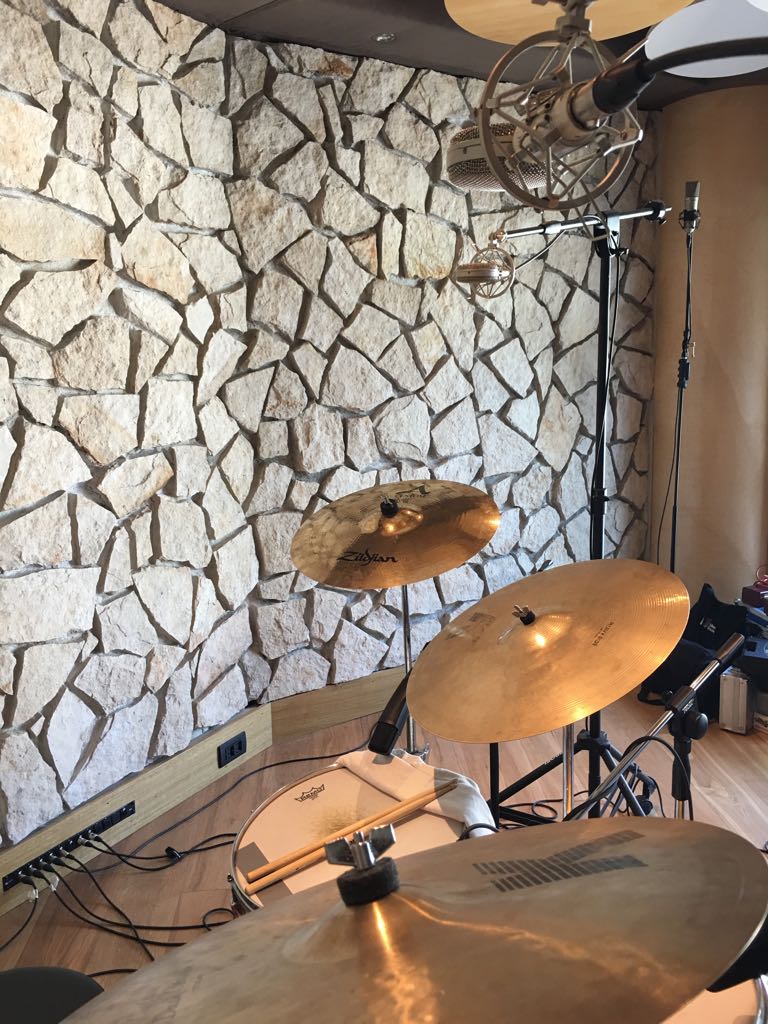
GODFATHER STUDIO - NAPOLI (IT) . This beautiful sounding room allows for diffuse field recordings
Uniform Sound Pressure: In a diffuse field, the sound pressure level is roughly the same at any point in the room, as reflections create a homogenous sound field.
Reverberant Environments: Common examples include large rooms with reflective surfaces, such as concert halls, reverberation chambers, or any enclosed space with significant reflections.
No Direct Path Dominance: Unlike the free field, there is no single dominant sound path from the source to the microphone. Instead, the sound energy is evenly distributed.
Classical, orchestra, ambience recording: A diffuse sound field occurs in reverberant rooms in which the direct sound is extended by many additional reflections from the walls. In an ideal diffuse field, the proportion of sound energy (represented by the "sound velocity vector") is the same on average from every direction.
Room Acoustics Analysis: Understanding how sound behaves in diffuse fields is crucial for designing and analyzing the acoustics of large auditoriums, concert halls, and other performance spaces.
Microphone Testing: Testing microphones in a diffuse field can help understand how they will perform in real-world, reverberant environments, which is often more relevant than free field performance.

Teatro SAn CARLO (Napoli). I had the pleasure and honor to record Bonovox during his last show in 2023
Omnidirectional microphones are also essential in diffuse fields due to their ability to:
Capture Overall Ambience: These microphones are ideal for recording the overall sound field, capturing reflections and reverberations that contribute to the richness of the sound.
Consistent Response: Since diffuse fields have no dominant sound direction, omnidirectional microphones ensure that the recorded sound is balanced and representative of the entire acoustic environment.
In diffuse field recordings, a passive equalization sphere is often used to enhance the performance of omnidirectional microphones. This sphere, usually a small, rigid ball placed around the microphone, serves to:
Improve High-Frequency Response: By compensating for the natural roll-off of high frequencies in diffuse fields, the sphere ensures a more accurate and balanced recording.
Minimize Directivity Artifacts: It helps in maintaining the microphone's omnidirectional characteristics by reducing any directional bias that might occur due to the microphone’s physical shape or placement.
Braingasm “OCULA” diffuse field microphone - audio comparative test with dpa 4009 equipped with a 40mm ape.
Direct Recording: Positioning the microphone close to the sound source ensures that reflections are minimized. This technique is useful for capturing a clear, uncolored representation of the source.
Outdoor Recordings: When recording outdoors, choosing locations away from reflective surfaces can approximate free field conditions.
Omnidirectional Microphones: These are often preferred in diffuse fields because they capture sound uniformly from all directions, making them suitable for recording the overall ambience.
Reverberation Enhancement: Using multiple microphones placed strategically within a reverberant environment can capture the rich, full sound of the space, enhancing the recording’s depth and realism.
Passive Equalization Spheres (APE): Incorporating these devices can further refine the microphone’s response, ensuring a faithful representation of the diffuse sound field.
Understanding the difference between free field and diffuse field environments is fundamental for anyone involved in audio recording and acoustic measurement. Free fields are ideal for capturing direct sound without reflections, making them perfect for precise measurements and calibration. On the other hand, diffuse fields provide a rich, uniform sound environment that is essential for understanding room acoustics and capturing realistic, immersive recordings. By choosing the appropriate microphone technique for each environment and utilizing tools like omnidirectional microphones and passive equalization spheres, you can ensure the highest quality recordings and most accurate acoustic analyses.
I started writing this article in the midst of a lockdown, a moment of reflection and nostalgia, 12,000 km away from home, just a stone's throw from the South Pole, immersed in the South American magical realism, amidst a pandemic, empanadas, and revolutions.
In the past 3 years, I took a break from the metropolis and moved to Chile, working for Stam Audio as the Director of Engineering, involved in the development of highly complex projects geared towards intercontinental distribution. It has been an incredibly enriching experience, both personally and professionally, allowing me to tackle pro-audio design at an advanced level.
I have just returned to Italy, ready to reopen the doors of Braingasm Lab in Rome and rev up the engines at full throttle, armed with a new wealth of experience and the desire to rediscover the personal relationship with my clients.

RIPARAZIONE U67
RESTAURO U87 - TEATRO DELL’OPERA DI ROMA
Mass production is an opportunity in terms of product distribution and processing times, but 2 years after the introduction of Magnitube, Ferro, and Multi-Deluxe, which performed very well in the international market, I felt the desire to return to custom shop and repair work. This is the activity with which I started and it transformed Braingasm Lab from a desk and soldering iron in the home workshop into a recognized and appreciated brand.
CUSTOM M49’S

CUSTOM U47’S
POINT TO POINT ACTION
I have created an illustrated guide to large-diaphragm condenser microphones, inspired by the classics, differentiating designs based on the main components that characterize a microphone's sound, listed in order of importance.
This "Sound engineer's Guide to the Galaxy" started as a divertissement (in the true sense of Blaise Pascal), a frivolous distraction in a moment of existential crisis. However, I decided to continue it as a tribute to my visceral passion for microphones and as a critique of the incurable heaviness of our French neighbors.
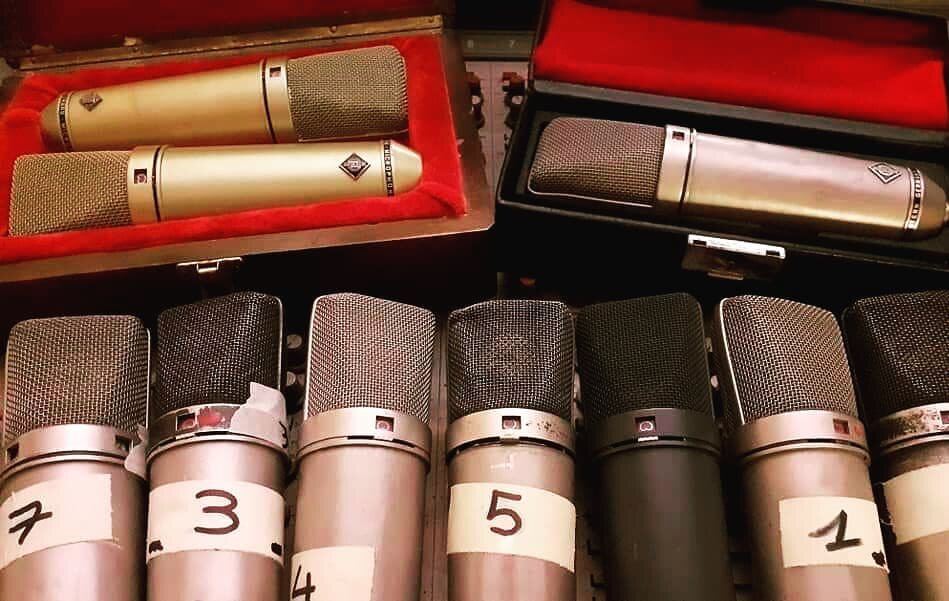
To design the guide, I chose to start with what I believe is the most defining element in a microphone's sound, identifying the 4 most well-known large-diaphragm condenser capsule models (M7, K47, K67/87, and CK12) and continuing the analysis of subsequent stages.

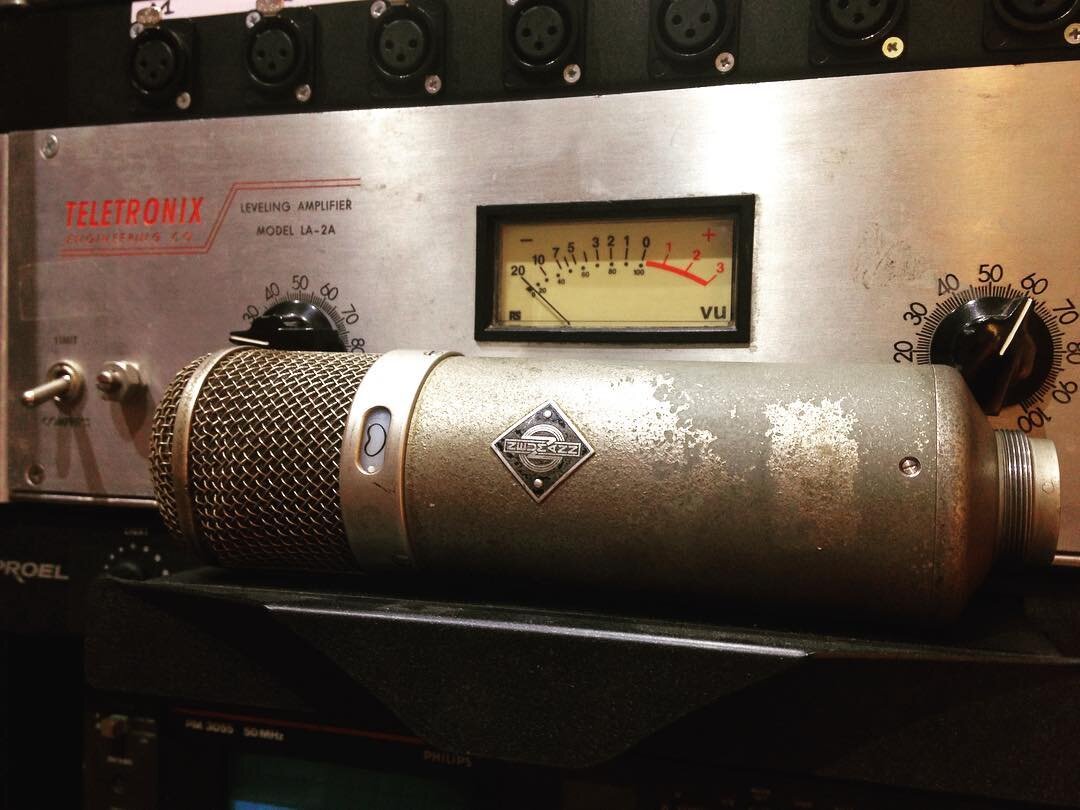
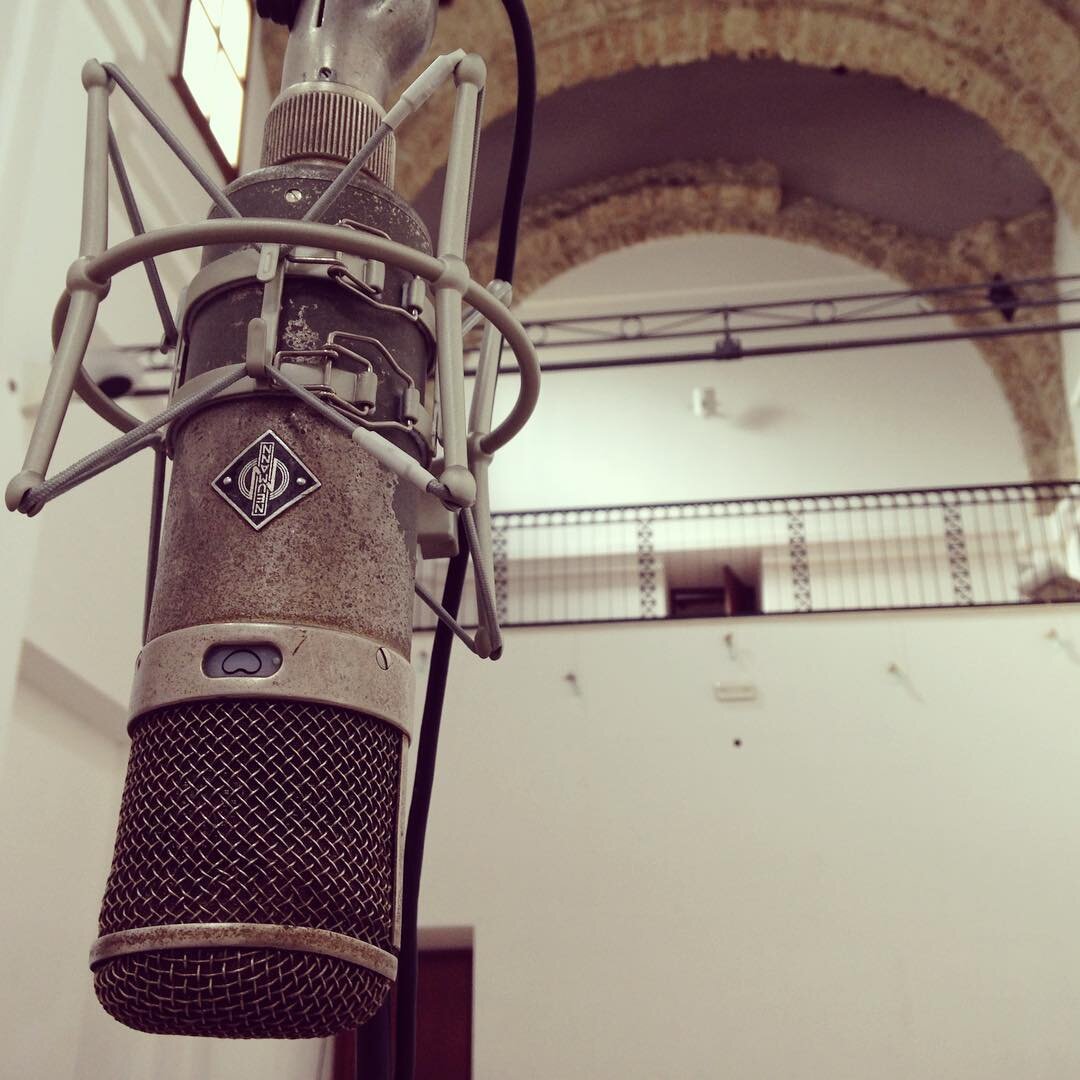
my beloved 1960 u47
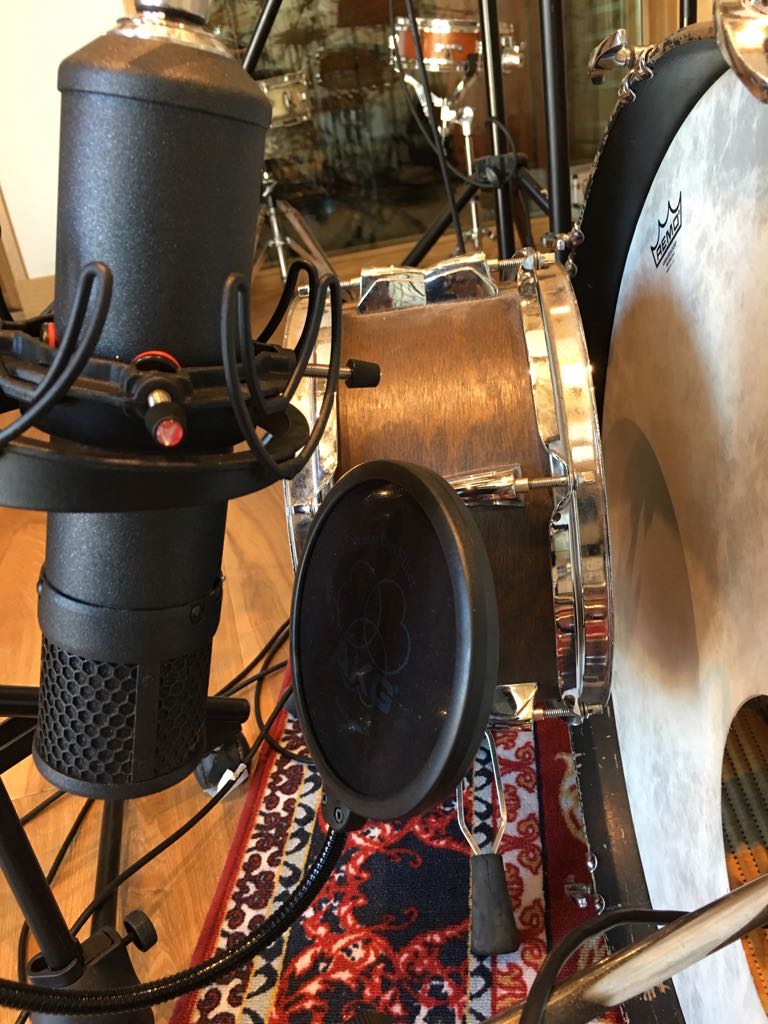
my favourite vocals recordng setup
drums recording with my neumann u47
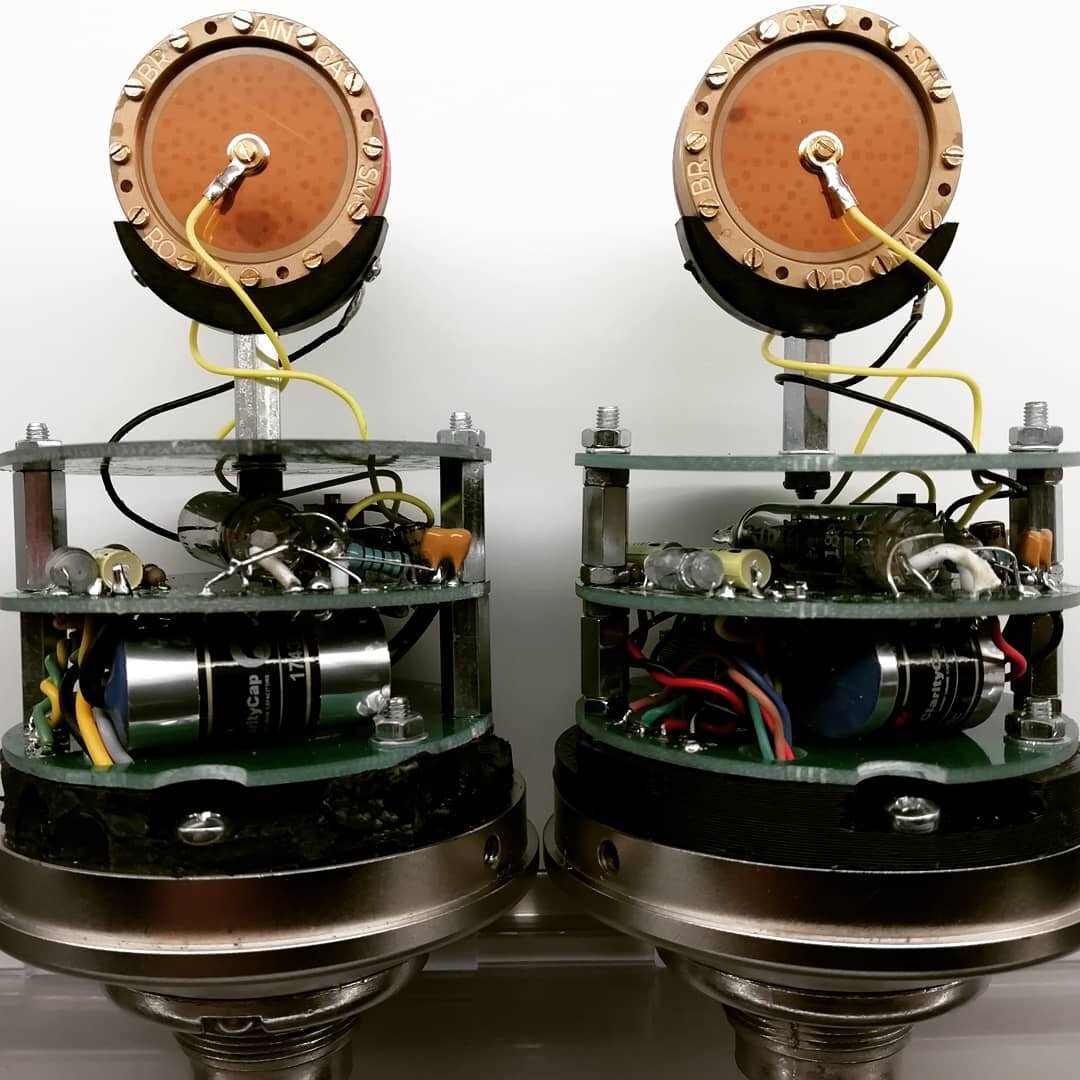
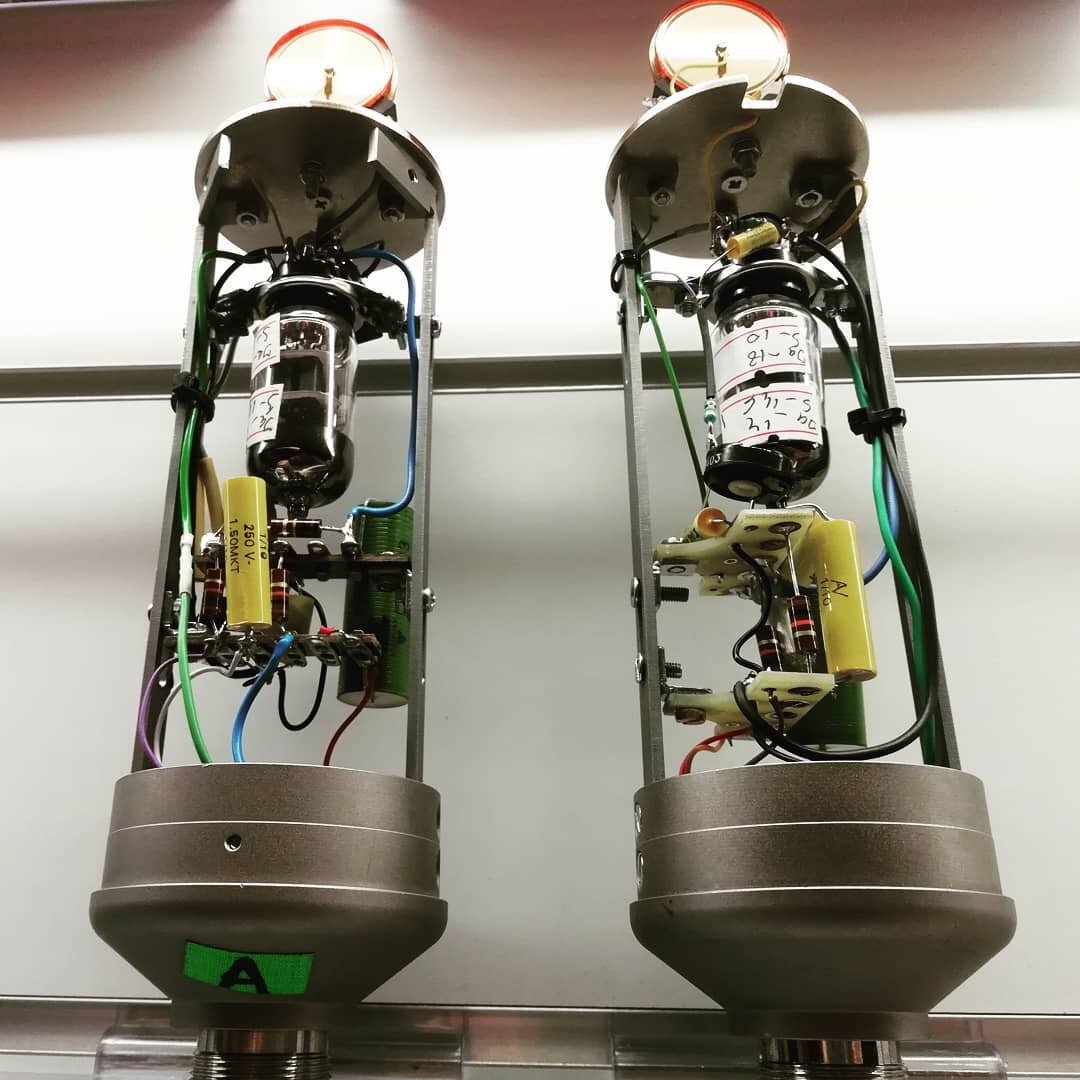
Capsule: The beating heart of a microphone, the electroacoustic transducer, a bridge between two worlds (acoustic and electric), largely responsible for frequency response, detail, and definition. It would take an entire blog to talk about capsules and describe all the ones I've tried, disassembled, broken, and repaired, up to designing and producing (with the help of specific machines and specialized engineers) a Braingasm signature line that I use both in my models and as an alternative to the originals in major repairs.
Amplifier: With few exceptions, there are two choices: tube or J-FET, sometimes configured as unity gain active elements (simple impedance converters), other times as true amplifiers (gain stages). The most significant differences concern headroom, transient response, and harmonic content. The debate of 'one is better than the other' is inconclusive, just like the intuitive misconception that a tube distorts and a transistor doesn't, or that the tube is more 'colored.' Nonsense. It depends. Always. Don't be fooled.
Output Stage: Again, there are two options here, solid-state driver or transformer. The interaction of these elements with the amplifier on one side and the external world on the other influences frequency response and the S/N ratio, determining also the microphone's output impedance. With few exceptions, a tube microphone always requires an output transformer configured as step-down. As a general rule, the higher the tube gain (technically its transconductance), the higher the required transformation ratio, necessitating a higher-quality transformer in terms of inductance and core material. The risk in this case is a loss in low-frequency response, ringing or resonances, and worsening of the S/N ratio. The choice of the amplifier circuit and output stage becomes crucial not to nullify the work of a good capsule. In my 'MAGNITUBE,' for example, I chose a tube highly valued in the hi-fi world, not microphonic, and with low output impedance, rarely used in a microphone but very similar in curves to a VF14, which I know well from owning a Neumann U47 (S.N. 4805 from 1960). This (somewhat unexplored) choice offers significant advantages because it allows the use of a low-ratio transformer (in my case, a Sowter 9145, used as an input transformer in the 1073, in my case wired in reverse), ensuring a full spectrum response and huge headroom.
In the case of a J-FET amplifier, on the other hand, a high-ratio output transformer is always necessary (generally between 7:1 and 10:1), as in classic designs like U87 or KM84, which inspired my 'FERRO.'
Finally, in the case of a transistor output stage, we find 2 BJT connected in transconductance, the classic 'Schoeps CMC-style' amplifier, ultra-linear, quiet, and low-consumption, which inspired my 'MULTIDELUXE.'

magnitube power supply

drums recording with braingasm microphones

bg7 capsule
CONCLUSIONS
Fortunately, there are none. I will never speak about which microphone is better or worse than another.
Use your ears, unleash your passion for sounds, experiment, and have fun, in defiance of Blaise Pascal!

I use to write my blog posts and reviews in Italian but ,since this thread could be of interest for many of you all around the world, i choose to write in English this time and share my experience with this bunch of heavy irons i had the chance to play in my lab.
Everybody knows what a Neve 1073 is but i believe very few of us poor sleepless engineers could ever have a chance to get a real one in the studio, either for insanely high prices of hard to find good shape and trusty units on the market.
I fell in love with the ‘real N’ during Morrissey’s Low in High School sessions in Rome, with Joe Chiccarelli driving the 60 channels Neve VR Legend console at Forum Music Village studios in Rome (Ennio Morricone’s personal workshop since early 70’s). I was called to bring some of my custom microphones for Joe and stayed there for a while during soundcheck and mic placement (Here’s my article about that beautiful day).
Even if the studio owns lots of real hardware the production asked to rent some Neve 1073 modules (plus some 1176 and Pultec’s). I remember the feeling of seeing Joe breaking all the common gain staging rules and pushing all the equipment damn hard. Boy, what a sound. The drums sound did not change very much from what i heard in the control room to the mastered tracks, and this was achieved with (first of all decades of experience at the highest levels) very basic channel list, common mic placement techniques, quality microphones and a row of 1073 screaming the hell out.
While dreaming my real 1073, i fired up some clones (courtesy of Music Delivery) and performed deep tests over some of the most popular on the mid-budget market, with the idea, for each clone, to mark a checklist of what i believe is responsible for that unique sound.
1) Input transformer
2) LO1166 output transformer
3) BC184 transistors
4) Tantalum/Polystyrene capacitors
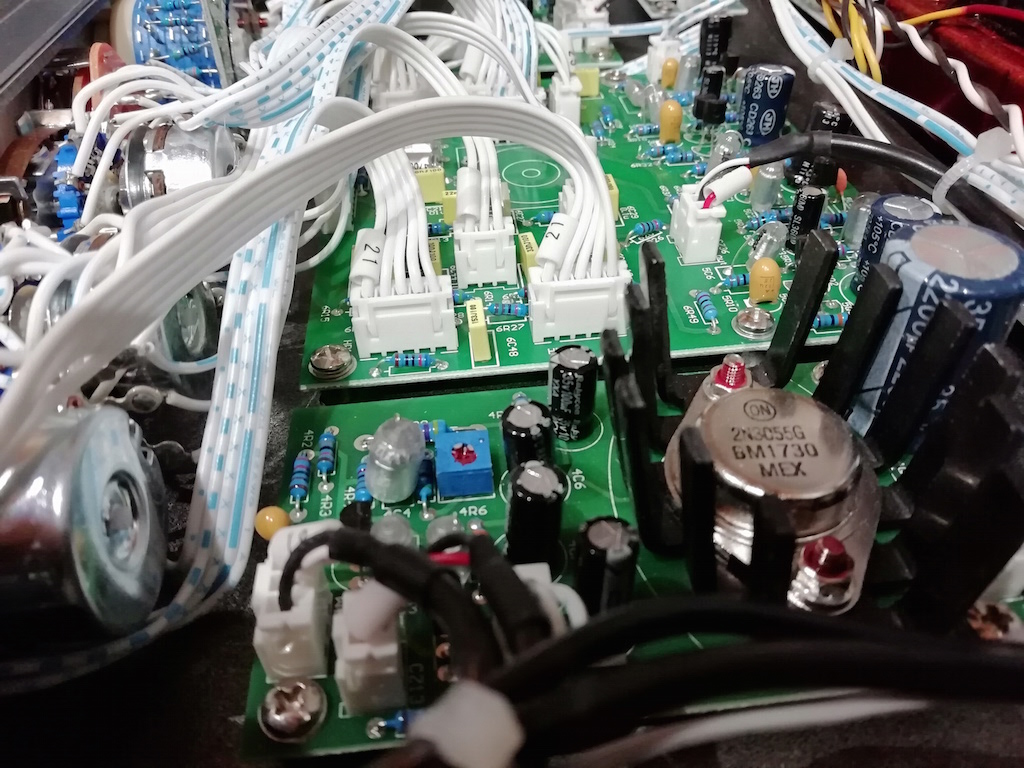
5) 2N3055 output transistor
6) 3 gain stages
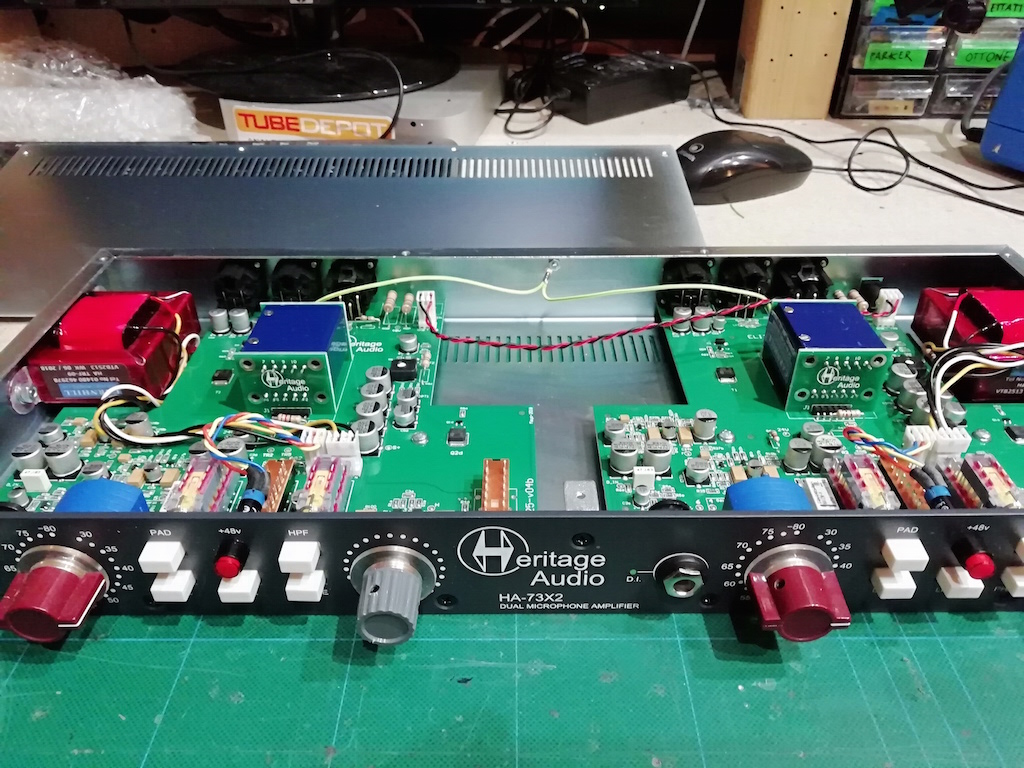
Heritage Audio HA-73X2 ELITE | 2 CH (STREET PRICE 1290 eur)

80dB, 3 stage fully discrete class A mic preamp
Line input on separate XLR
PAD / LO-Z / 80 Hz HI
Fully discrete class A
JFET based D.I.
External universal power supply for worldwide use
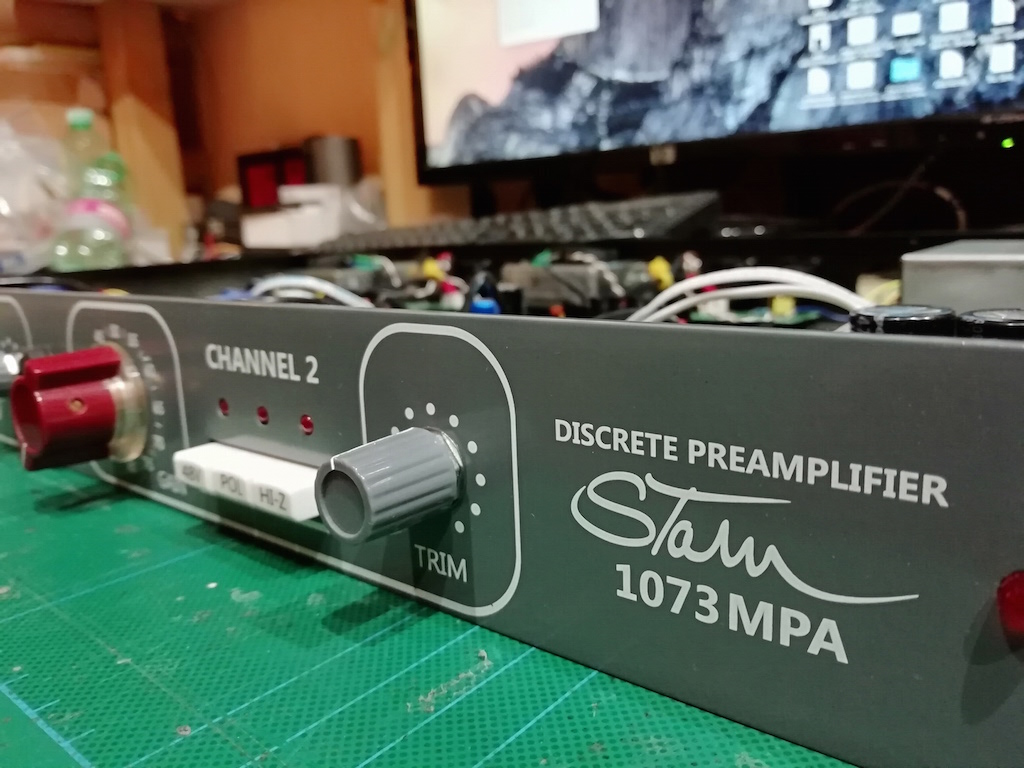
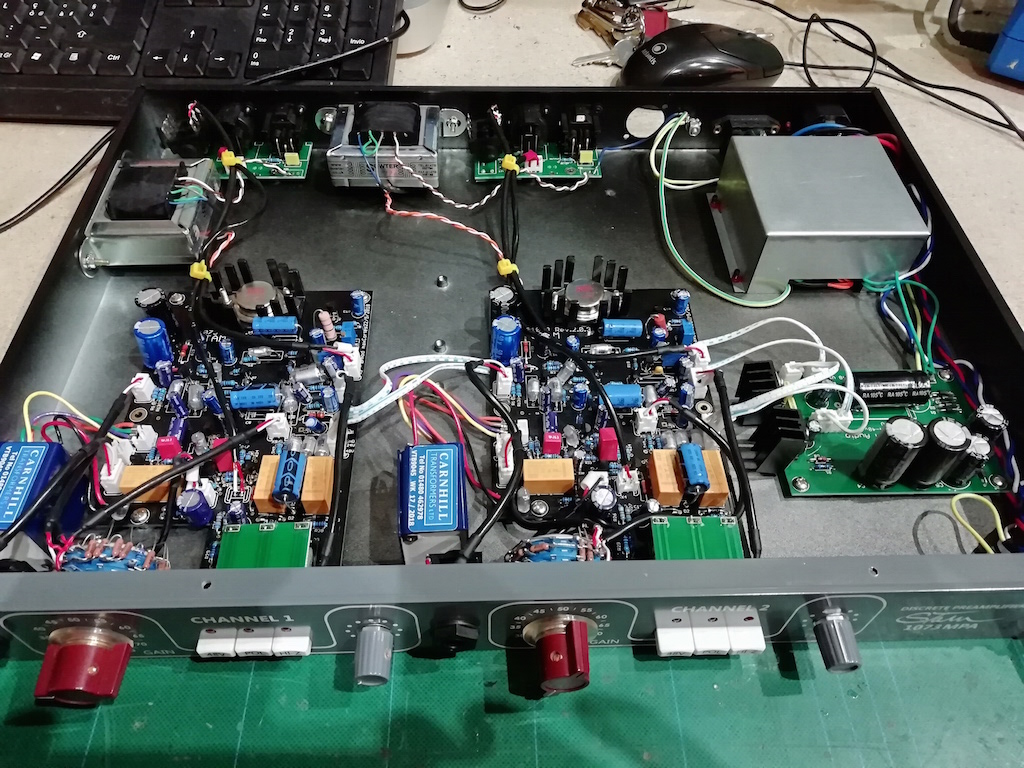
Stam Audio 1073MPA | 2CH (STREET PRICE 790 EUR)

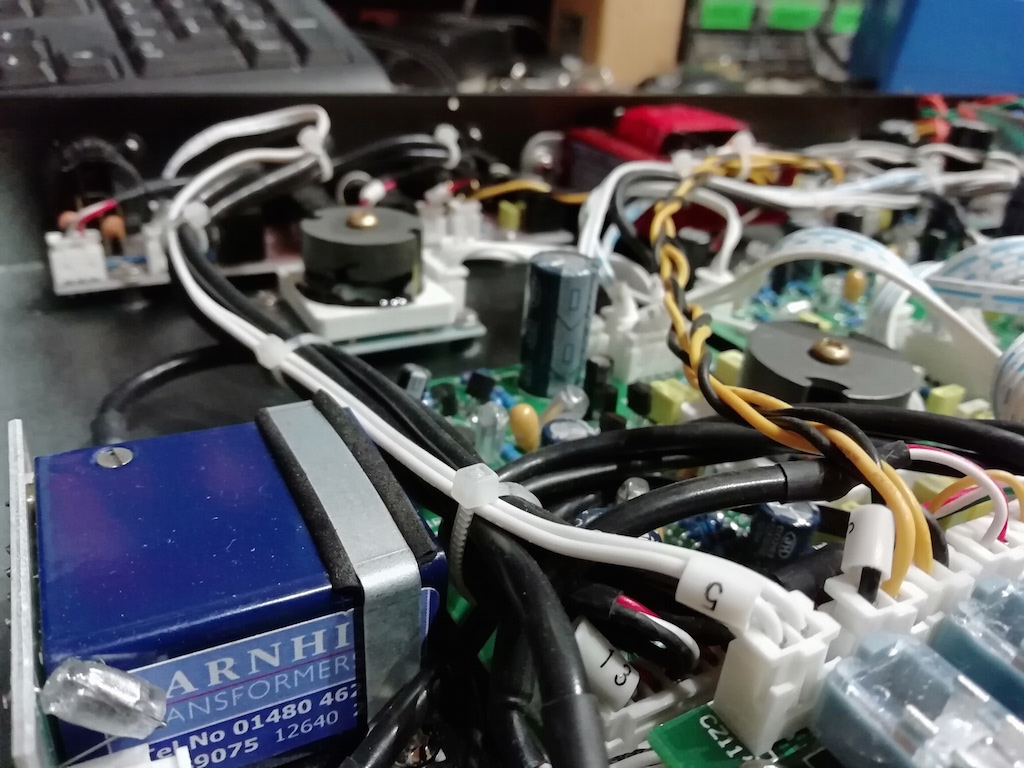
Carnhill input and output transformers
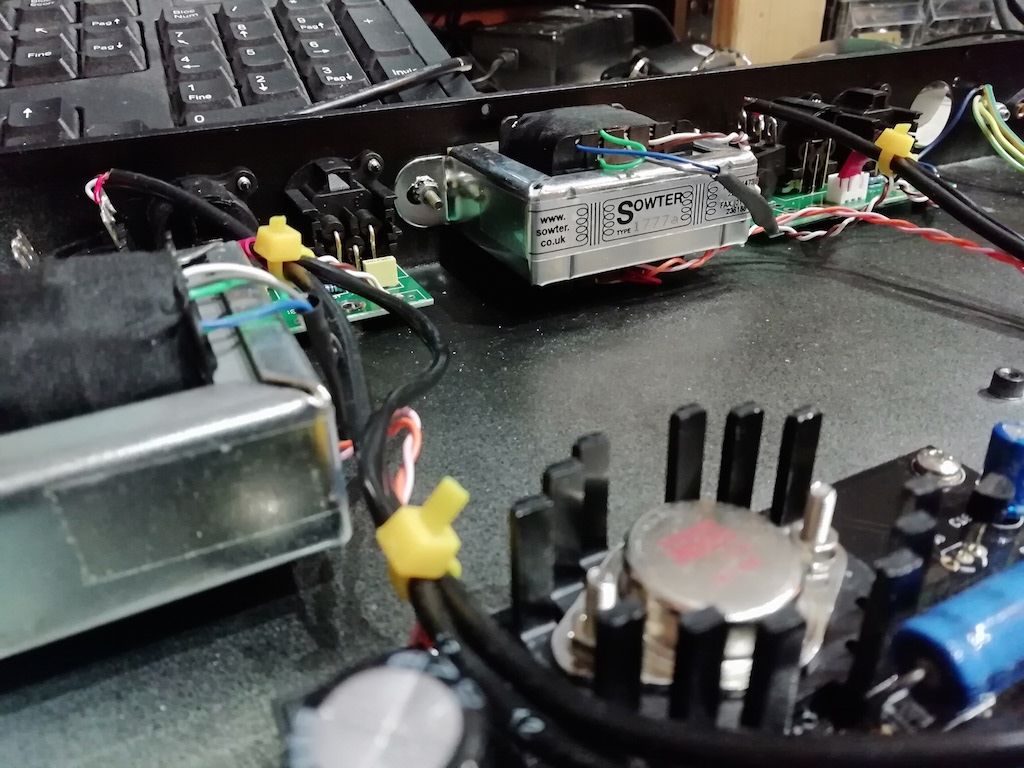
Optional Sowter output transformer
Polystyrene/Vishay-BC capacitors
2N3055 output transistor. 80 dB gain
Completely discrete signal path
Impedance selection (300 – 1200 ohms)
Insert Jack
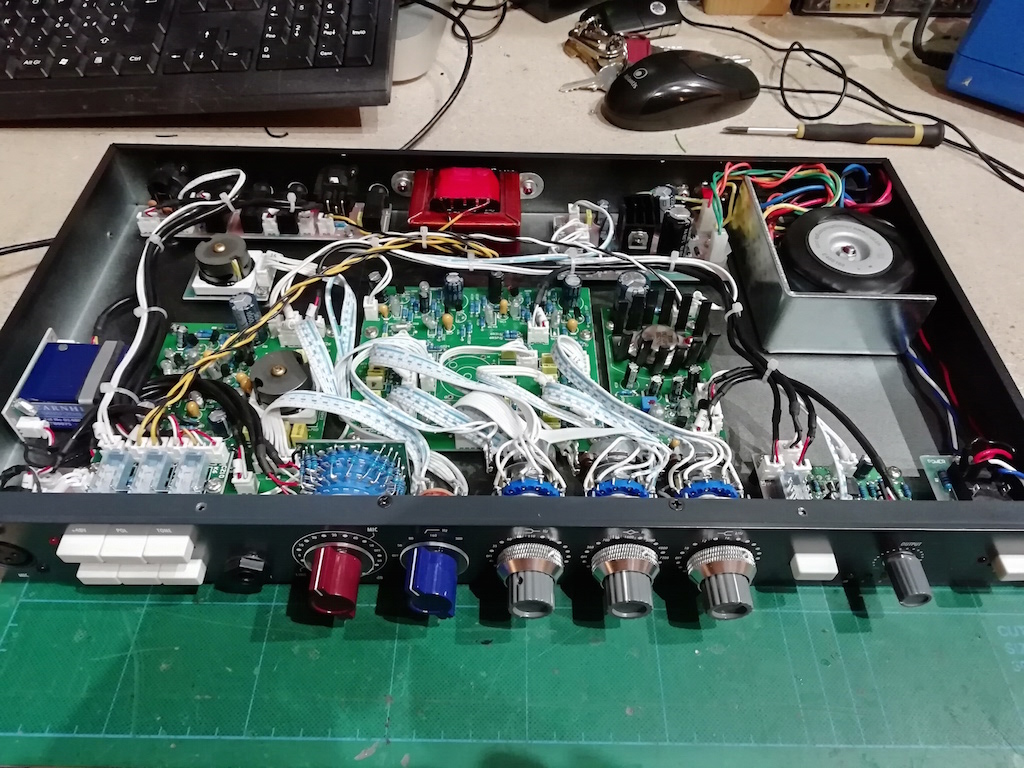
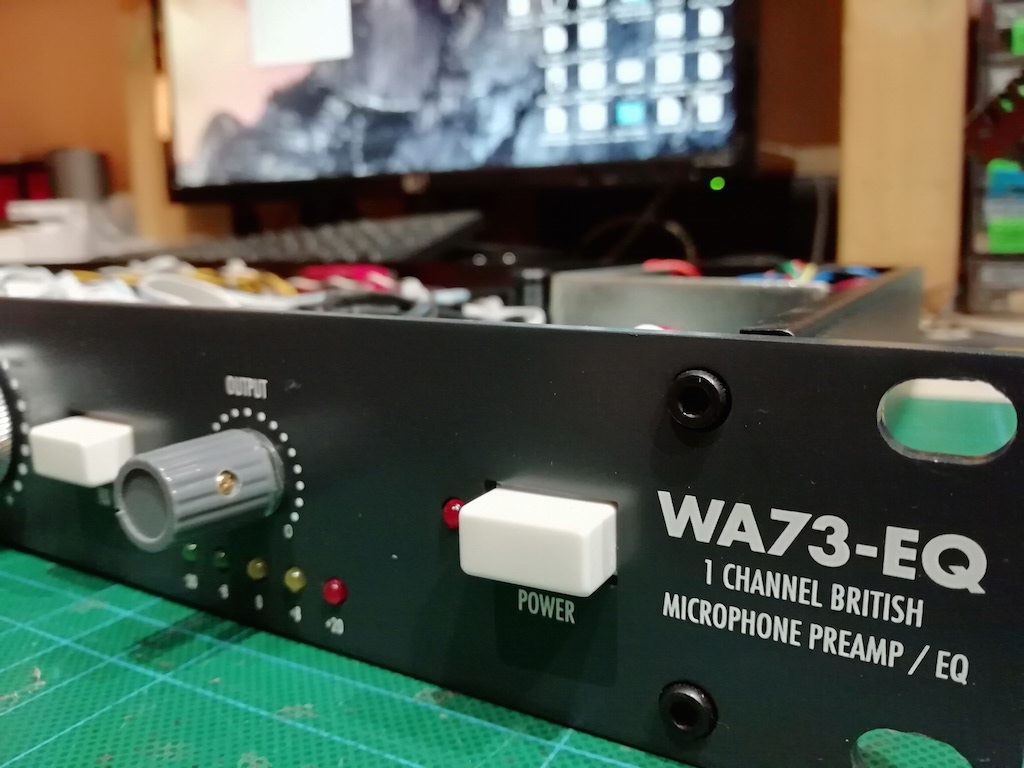
Warm Audio WA73-EQ | 1CH (STREET PRICE 880 EUR)

Discrete Class A circuit
Carnhill transformers
80 dB gain
PAD / LO-Z / Variable Hi-pass
LED meter
48V Phantom power
Integrated 115/230 V power supply unit
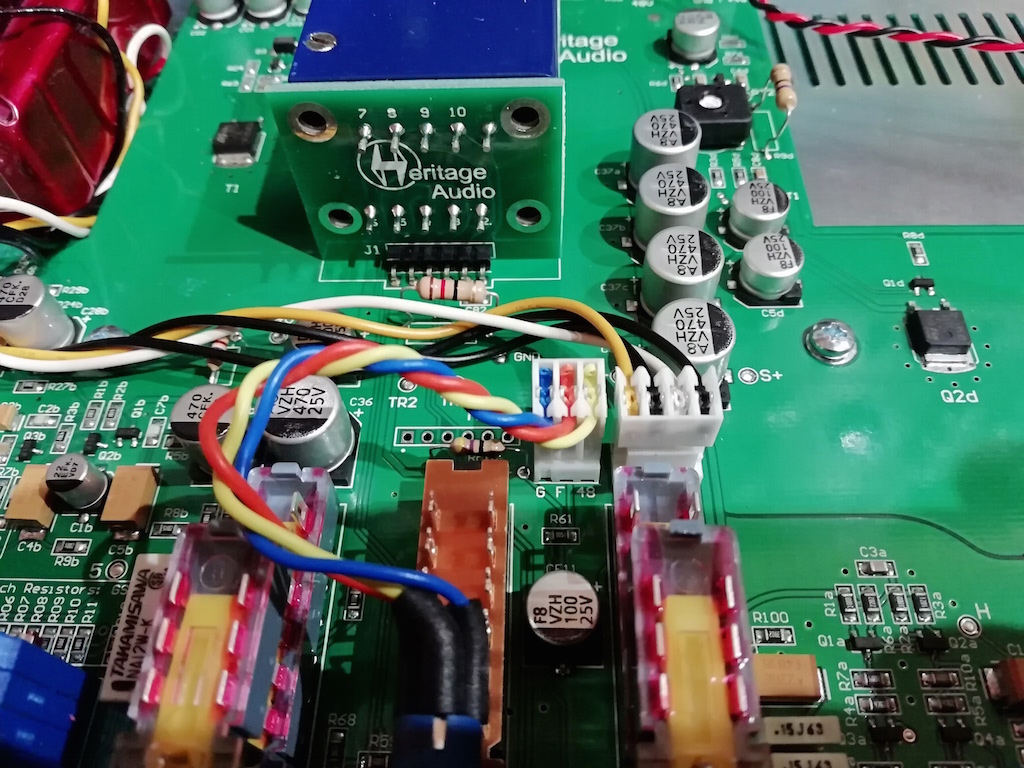
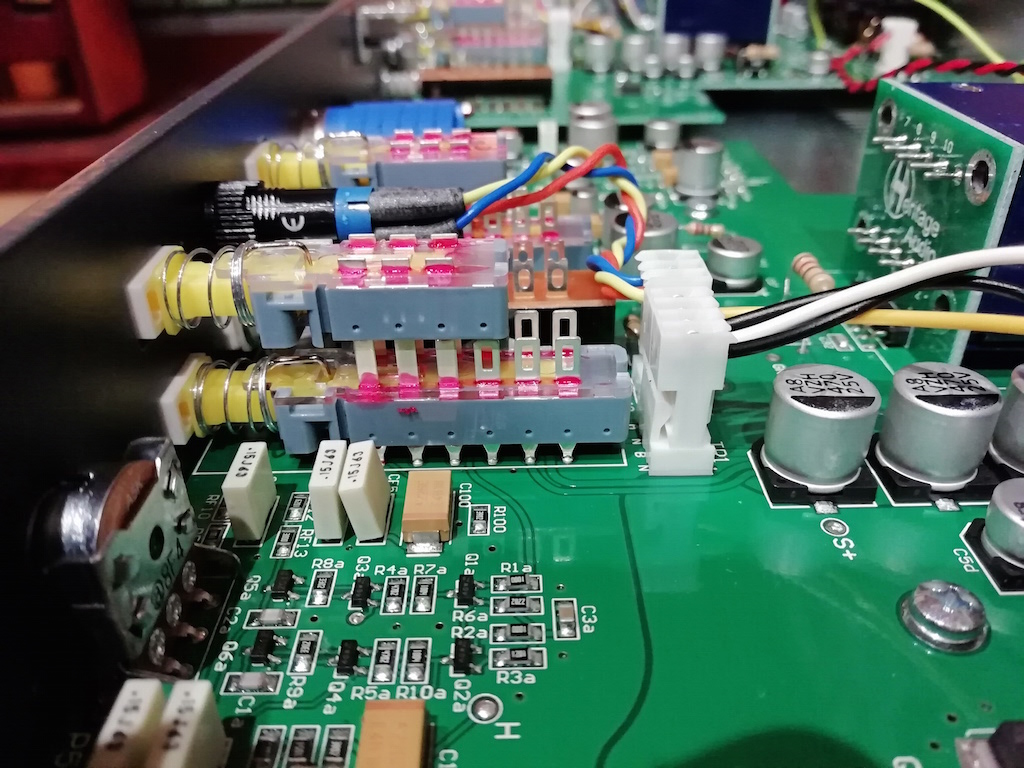
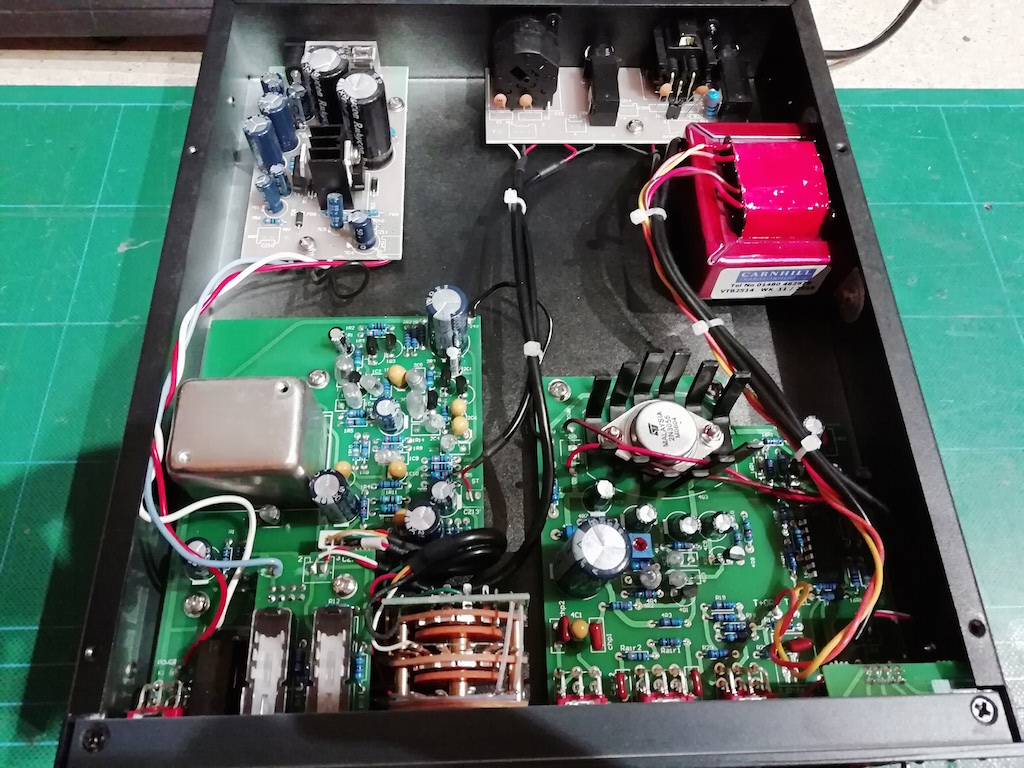
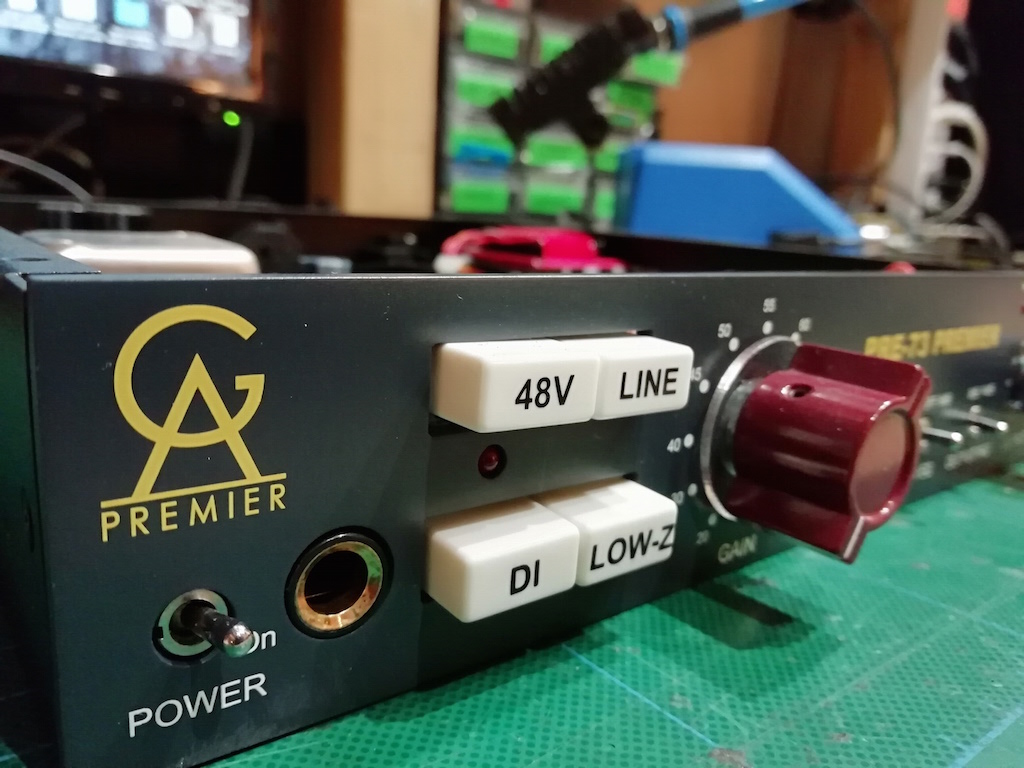
GAP Pre 73 | 1CH (STREET PRICE 450 EUR)

80 dB gain/ air eq / Hi-Pass / Lo-Z
4-step LED output level meter.
Output level control
Line Input / Insert jack / Selectable 600 Ohm output termination.
Connector free internal wiring
Carnhill input and line output transformers.
Polystyrene / Tantalum capacitors
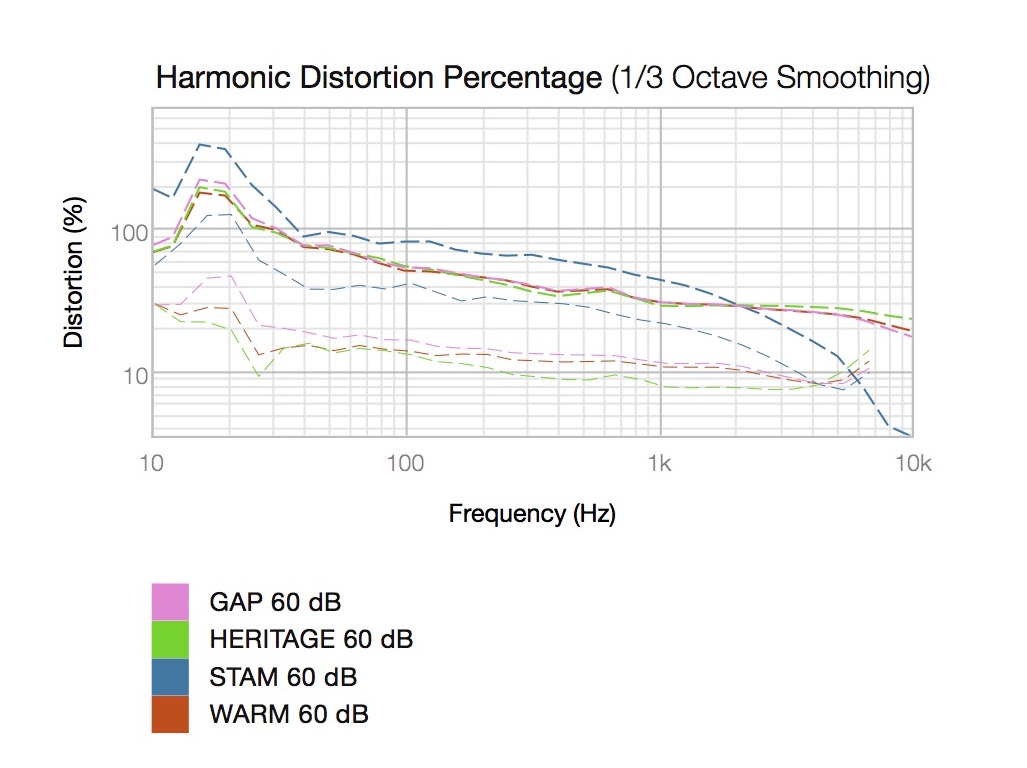
Frequency response and T.H.D.
Using my analysis software i ran a 20Hz-20KHz sweep into the clones through a quality passive D.I. box, ensuring the microphone inputs sees correct impedance and an average mic level signal (200 ohm, 50mV).
2 different gain settings were chosen, 30dB and 60dB, adjusting output trimmers for circa -12 dBFS input level into an RME Fireface 800 soundcard. This is how i’d use a 1073 in a real world scenario, the input levels would represent a singer’s voice captured by a large diaphragm condenser microphone or a snare drum on a padded pencil condenser microphone, and the 2 different gain settings would be choosing to record it either the clean or super-dirty way.
Differences are subtle, but devil’s in the details. Mid-band frequency response results in both 30 and 60 dB gain settings are (apparently) very similar for all the preamps, but the T.H.D. figures and behavior at the edges of audio band clearly define what’s happening, double confirmed with later audio listening tests.
30 dB gain setting:
In the low band Stam Audio exhibits 1-2 dB more low-end with a bell around 50 Hz, being the other 3 flatter and very similar, and in the upper-high band Stam Audio and Heritage have a gentle 20 Khz 6db/oct high cut, while Warm Audio remains flatter and Golden Age has a small boost bell around 14Khz.
Looking at the T.H.D. i see very similar values for all 4 devices, having all the same 3rd harmonic figure and a slightly difference on 2nd harmonics, being Stam Audio the most coloured and Heritage the most neutral.


60 dB gain setting:
On a heavy distortion setting, the differences talks about how the electronics is working in extreme conditions, sorting out critical design pro’s and con’s. Here’s how those units sound when pushed hard, and the results will be too confirmed after the real world recording tests.
Heritage confirms to be the more neutral among the four and Stam the most coloured, having more harmonic distortion percentage.
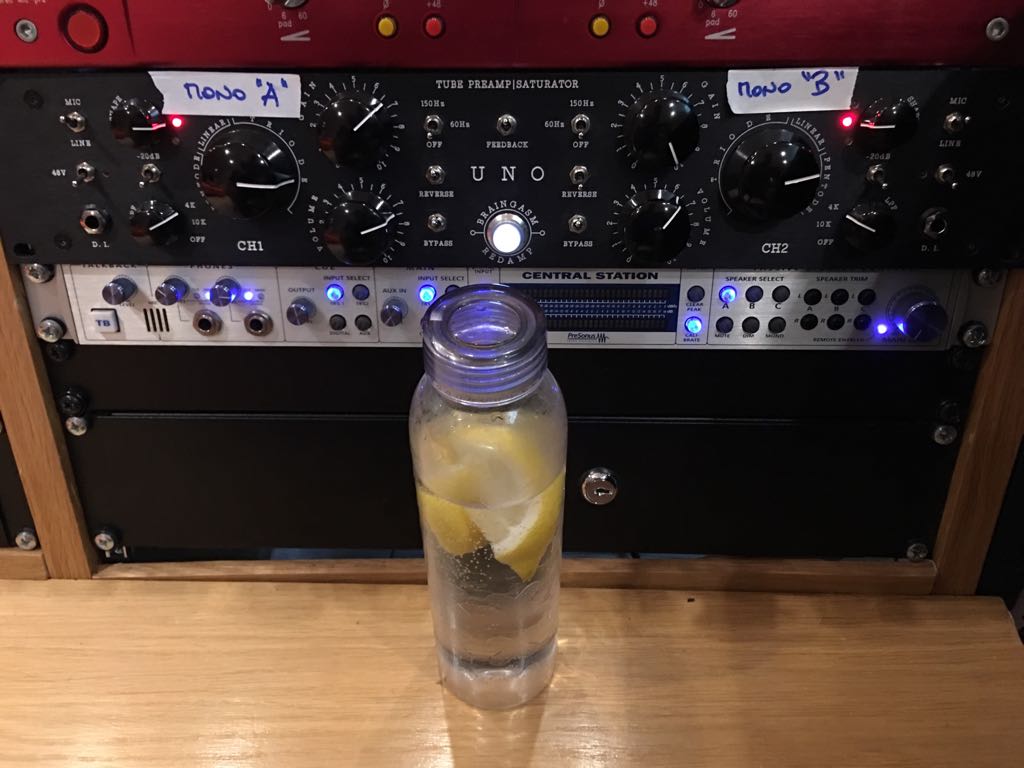
A curious sudden 2nd harmonic drop from 2KHz of the Stam 1073MPA delivers a more gentle and less harsh sound when distorting in the hi band. I don’t know if this tailored behaviour was desired or just a lucky combination of design and components, but in the end i liked it very much. Generally speaking, on high saturation levels the TDH in the mid-bass frequencies is perceived more pleasantly than on the mid-highs, where the sound can become easily gritty and unpleasant to human ears. Filtering some highs (feedback) before the last gain stage helps the overall sound to become less annoying are more enjoyable. (It’s a feature i put intentionally in my UNO tube saturator) and that can be found on other hardware saturators like The Culture Vulture from Thermionic culture or Elysia Character (here as a continuous tone control).

The following table contains what i believe are the key features of a 1073 design (which itself is omitted in the list), and aside from a pure technical analysis it reveals some coincidences with the test graphs results:
Warm Audio and Golden Age share identical features (and graphs too), while Heritage is one extreme and Stam the opposite, having less key features in common.
The fuller low end in Stam 1073MPA could be an effect of higher inductances of their Sowter output transformer (it is sold either with Carnhill or Sowter output transformer, i have the Sowter version), and the use of high quality film capacitors in the signal path could be responsible for the lower T.H.D. at highest levels and frequencies. On the other hand the more natural sound of Heritage Audio HA-73X2 could be the result of less original 1073 features than others. It is also an industrial SMD build, while their double priced DMA-73 version stays discrete and classic through holes style.

This review is not intended to give a winner between the four.
All the 1073 clones, in (boring) low gain operation, vaguely have a similar sound. When pushed hard they have different behaviour, and clear differences can be heard. This is confirmed by the different circuit design, critical components choice and cost/benefit compromises.
Ask friends or distributors a demo unit before buying by hearsay. Play, test, record, listen back. Hopefully this article will help people to choose their next microphone preamplifier with some more knowledge.


What is a world-renowned sound engineer doing at a small synth and electronic musical instruments expo? He observes carefully, looks around in search of the latest recording innovations, gathers information, asks questions, and listens attentively to the answers, genuinely interested in staying one step ahead of the current trends.
I met Roberto Rosu at the Soundmit in Turin last November, drawn to my booth adorned with prototypes of the new Braingasm microphones and the first unit of the UNO tube saturator.
Not knowing him personally, I started chatting, engaging in a long and incredibly interesting (almost philosophical) conversation about modern studio recording. We discussed avant-garde, innovation, technique, and taste, exchanged phone numbers, and scheduled a meeting in Rome to try out my microphones. At that point, the reveal: the conversation ended, and we said our goodbyes. I couldn't wait to hear his opinion on my new ideas still in prototype form. However, deep down, I didn't have high expectations. Could a master like Roberto truly be interested in discovering the sonic concept of a handcraft audio producer striving for innovation at all costs?
This same attitude reminds me of my encounter with another master, Joe Chiccarelli, exactly a year ago at the Forum Music Village in Rome during the sessions for Morrissey's "Low in High School" (easy to remember due to the near-arrest of the sad boy in a car going the wrong way on Via del Corso).
Roughly the same age, same lineage, same humanity, the same desire to engage in conversation as long as banalities aren't spoken, the same love for this profession, and some peculiar shared passions: a minimalist approach (easy, fast, and reliable), enthusiasts of low-end theory (of which I have always been a supporter), sound shaping printed in tracking, and the mandatory 'Dick Mic' on the drums.
Almost a year after Soundmit, Roberto contacts me to try out the microphones and UNO in a lighter context than mainstream productions, where there is less room for fantasy.
We meet at Tube Recording Studio with Enrico Moccia and Francesco Lupi for the sessions of Giuseppe Ricca's new album. Roberto is miking two different drum kits, with the idea of using them on different tracks of the same album based on the sound each track requires (and already here, you can understand his philosophy in recording).

As far as i remember the input list was:
Bass Drum: D12, Subkick, Braingasm Ferro
Snare: sm57 sopra e sotto (top-bottom)
Hat: KM84
Toms: MD421
Floor: MD421 (top-bottom)
Center Room: Ribbon + Binaural head
He further differentiates the two kits by mounting ribbon microphones as overheads (Coles on one kit and Braingasm on the other) and Dick Mics (SM58 and MD 441) passed through UNO to add some saturation. I follow the setup for as long as needed and bid farewell before becoming superfluous.


We meet again at his studio in Ostia to take my gear back, with the idea of conducting an interview to publish on this blog. However, in practice, we spend three hours talking once again about new trends in studio recording, electronic avant-garde, innovation, and technique.
Time passes, and every now and then, I think, 'focus, ask the questions you wanted to ask, record the conversation,' but instinctively, I chose to push distractions away and live that moment as an unmissable opportunity for personal and professional enrichment.
It's quite like going to concerts, being close to the stage, sweating instead of watching through your phone and worrying about posting live streaming on Facebook.
Let’s meet in the pit.
Roberto Rosu’s discography on:Discogs
I microfoni Braingasm sono progettati e costruiti con un'attenzione particolare alle necessità dell'utilizzatore, non semplicemente come dispositivi elettronici funzionali, ma come veri e propri attrezzi del mestiere, al passo con le nuove tendenze dello studio recording e sviluppati in collaborazione con i migliori tecnici del suono del panorama internazionale.
In completa controtendenza alla 'guerra dei cloni' che invade il mercato dell'audio professionale noi vogliamo innovare, inventare e progredire, proporre agli addetti ai lavori qualcosa di veramente nuovo nel panorama dei microfoni a condensatore da studio.
Un'idea di suono precisa, ragionata e implementata sul campo, originale, unica, frutto dell'esperienza di questi ultimi anni passati in laboratorio ad ascoltare, smontare e riparare centinaia di microfoni di ogni marca e modello, registrando qualsiasi strumento in qualsiasi contesto.
Abbiamo viaggiato in lungo e in largo per gli studi di registrazione di tutta Italia, ad incontrare tecnici, produttori e musicisti per scambiare idee, confrontarsi e raccogliere istanze di progresso e innovazione. Ora siamo pronti a proporvi tre nuovi modelli, Magnitube, Ferro e Multi-Deluxe, pezzi di tecnologia all'avanguardia con caratteristiche estetiche e funzionali che non troverete in nessun altro microfono sul mercato.